The following is a step-by-step tutorial on how to subscribe to our service and create an account
- Visit our subscription page here
- Choose a subscription and follow the on-screen instructions (currently only the Starter tier is available with the rest coming soon)
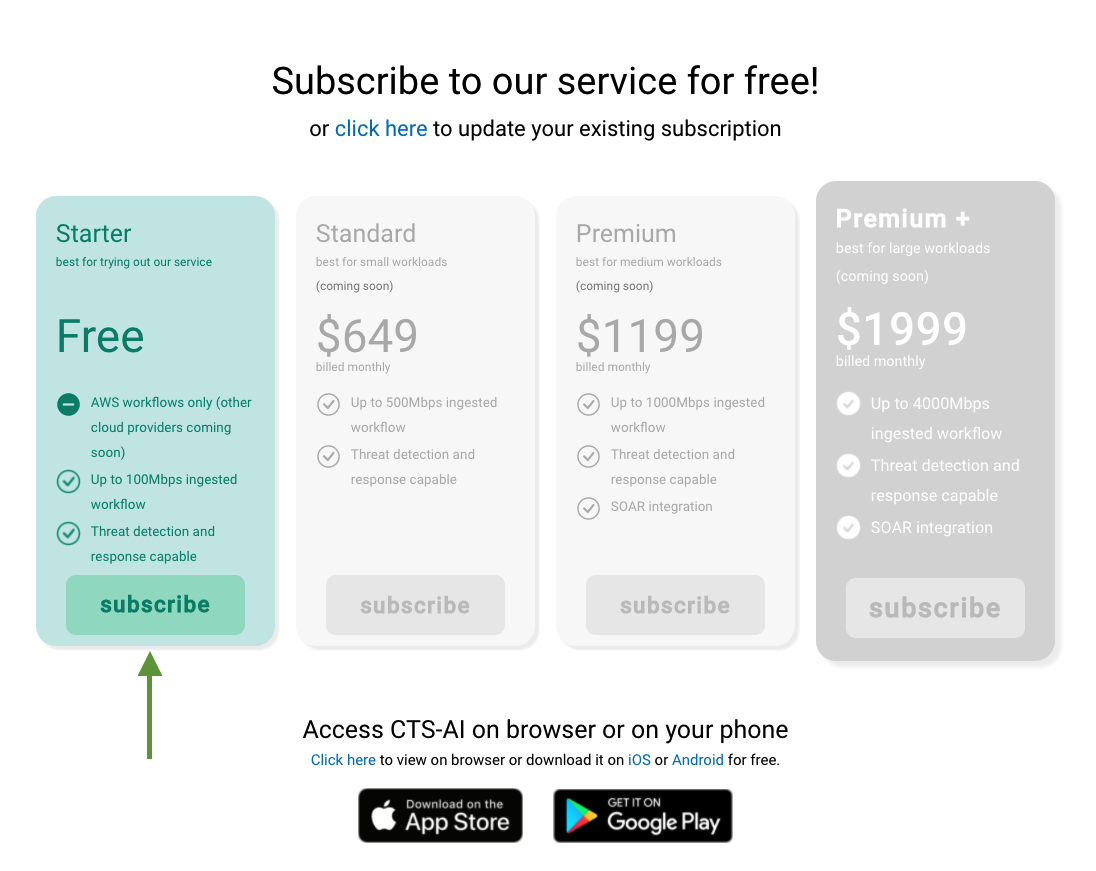
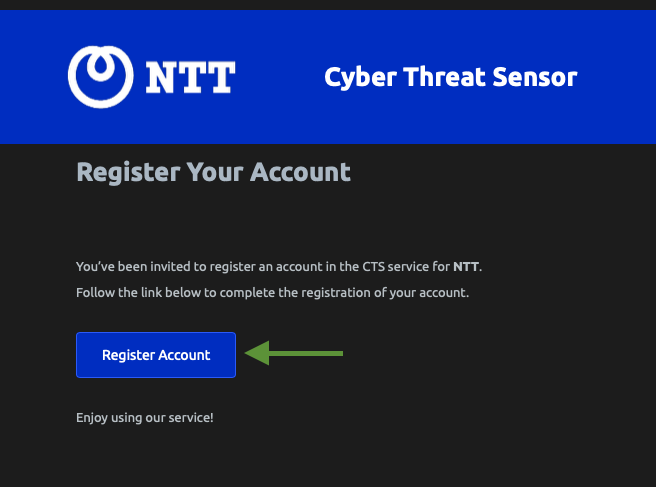
- Once you complete the subscription process, you will receive an email confirming the payment (if there was one) and subscription, and another email to prompt you to create an account on our app
- On the second email, click on "Register Account"
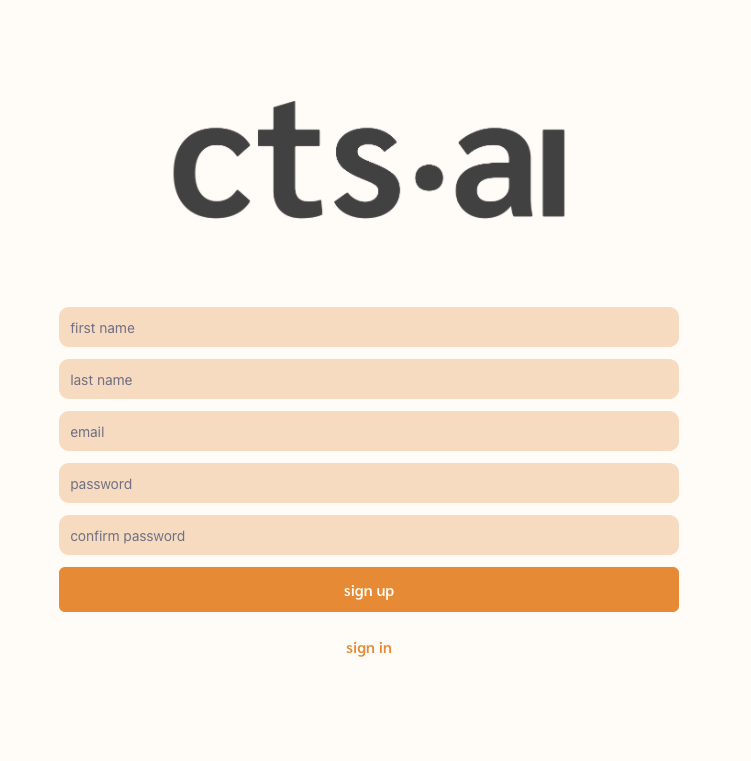
- You will be taken to our app. Fill in the relevant information, making sure to use the same email account where you got our email
The following is a step-by-step tutorial on how to activate your subscription on the AWS marketplace, via the BYOL model
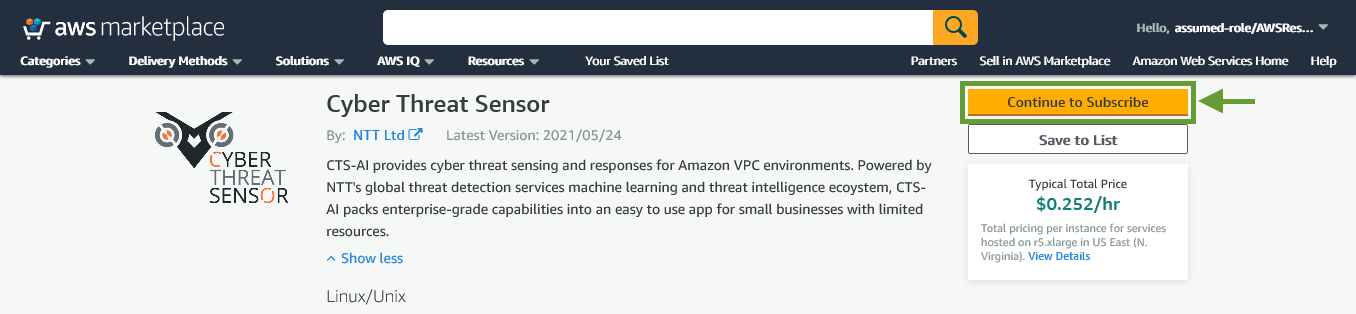
- Find our AWS store page on AWS Marketplace
- Click on 'Continue to Subscribe'
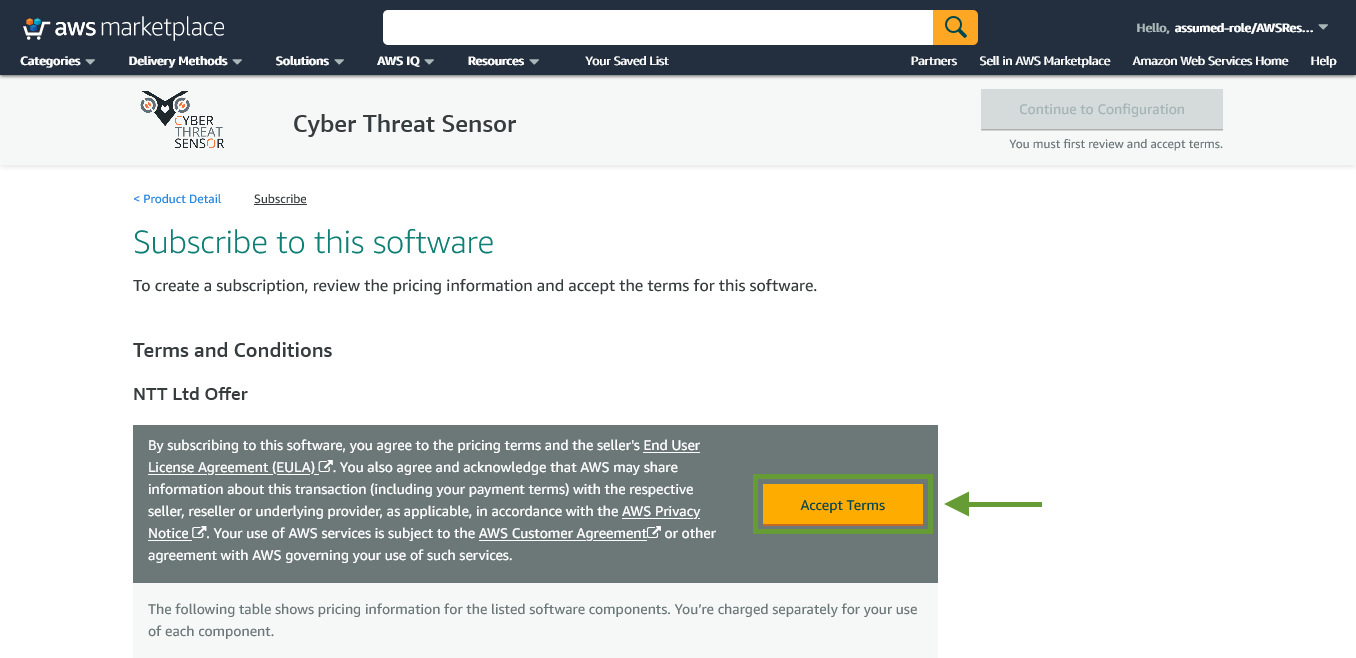
- Click on 'Accept Terms'
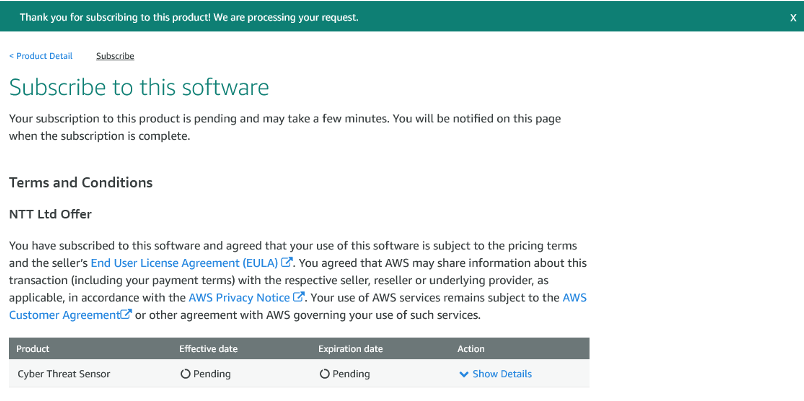
- Wait for a moment while the product is being activated
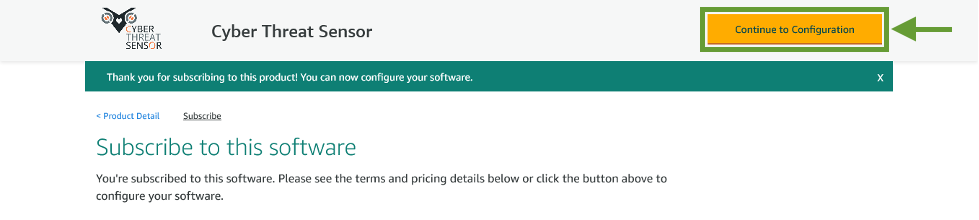
- Once the product activation is completed, click on 'Continue to Configuration'
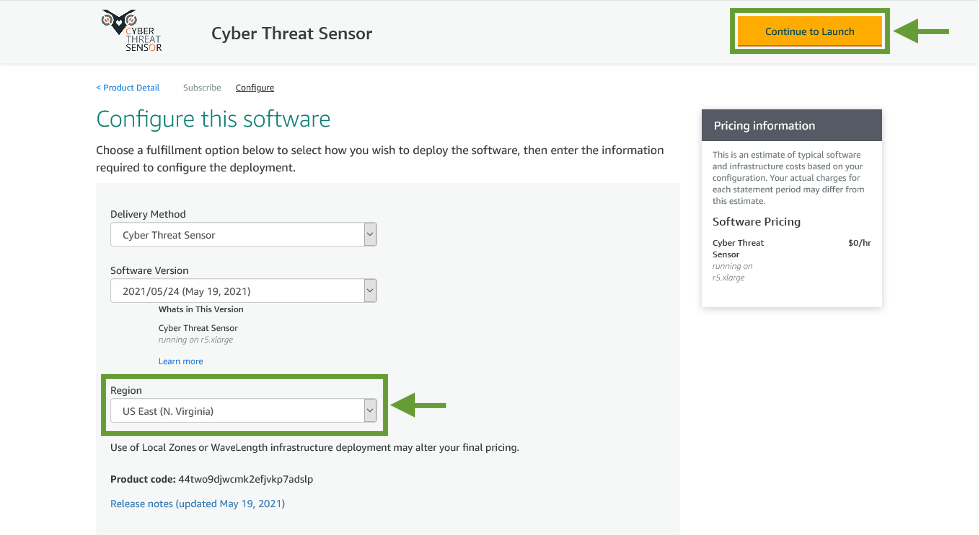
- Select the 'Region' and click 'Continue to Launch'
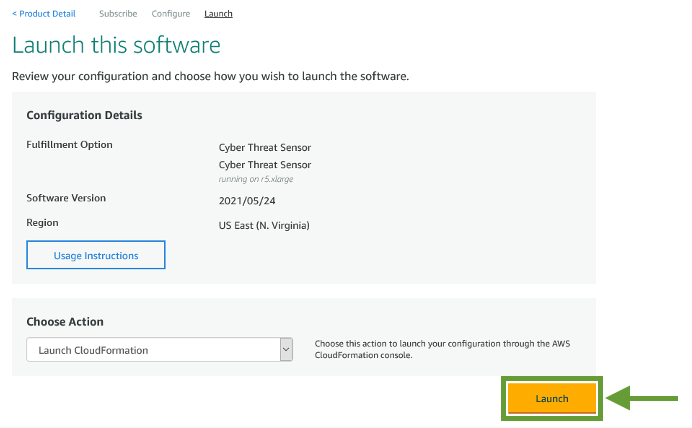
- Click on 'Launch'
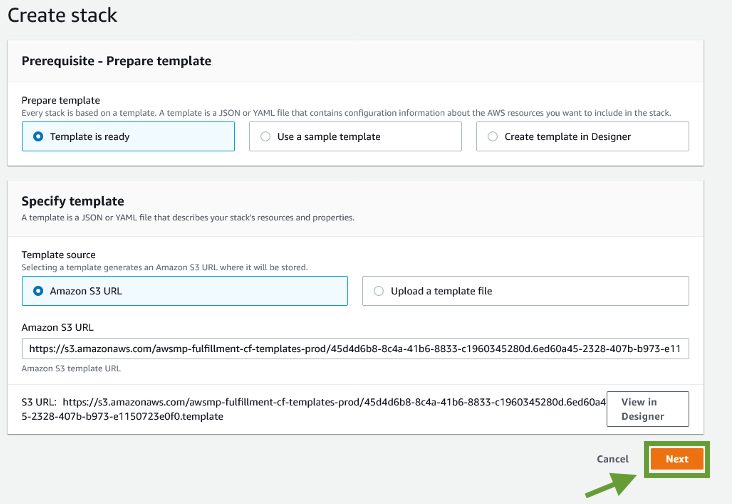
- Click on 'Next'
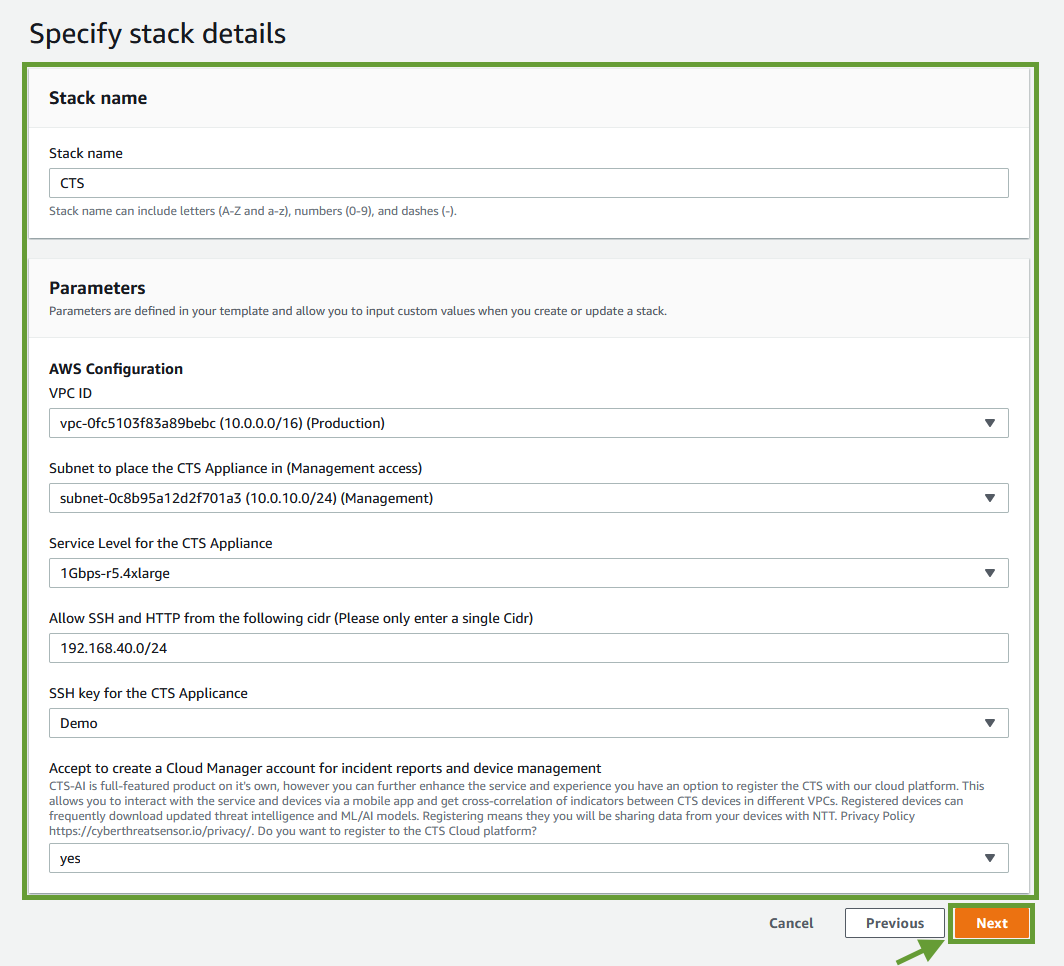
- Fill in all the relevant information. In 'Subnet to place the CTS Appliance in', make sure you choose a subnet which has an NAT gateway configured.
- If you have an Egress firewall, confirm that following URLs are allowed:
- docker.com (private container registry);
- *.docker.com (private container registry);
- docker.io (private container registry);
- *.docker.io (private container registry);
- *.cloudfront.net (Amazon CDN, used by CTS API);
- nttsecurity.io (CTS API);
- *.nttsecurity.io(CTS API);
- *.amazonaws.com (Kinesis Data Stream for logging)
- On "Accept to create a Cloud Manager account for incident reports and device management", if you select no, you will put your CTS in offline mode and will not receive updates. Either way, threat detection will work and active response will be blocking threats.
- We recommend you to activate your account by choosing yes.
- You can always register your device afterwards by issuing the following command: /usr/local/bin/register and continuing the guide from this step
- Click on 'Next'
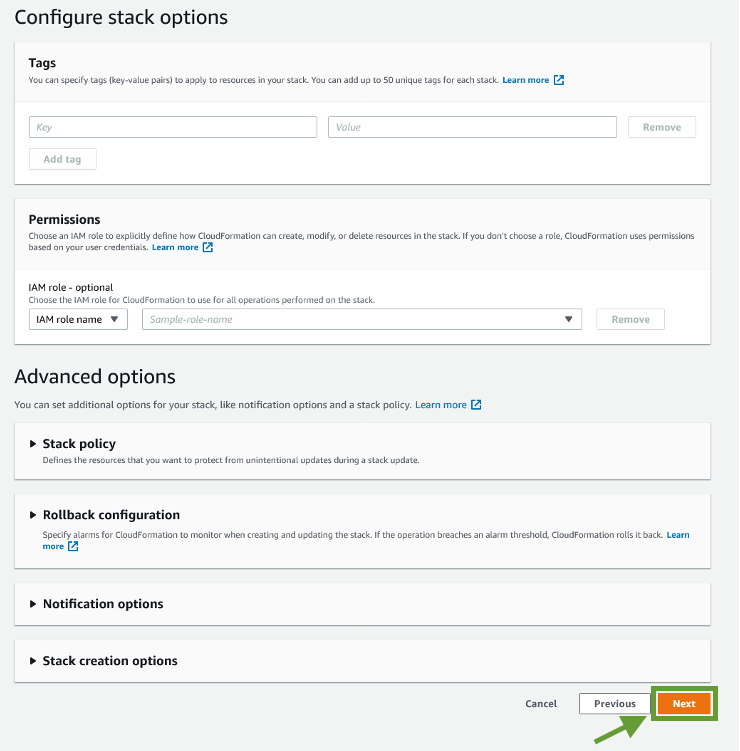
- On the next page, simply click 'Next'
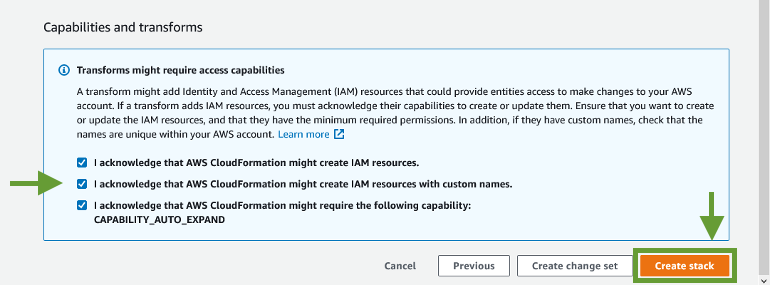
- Scroll to the bottom, tick all the acknowledgement boxes and click on 'Create stack'
- The stack creation will now take a few moments to complete. Once that happens, you will have access to the 'CTSPrivateIPAddress', under 'Outputs'
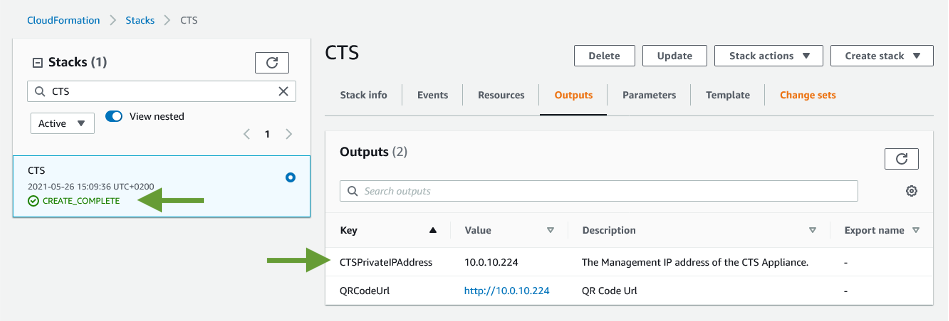
- Now, navigate to 'http://<IP>' replacing <IP> with CTSPrivateIPAddress, or Elastic IP if you use that. Use the method you would use to connect to other devices in the same network, which might be Site 2 Site VPN, client VPN or directly using Elastic IP over Internet. Make sure you update the policy named 'CTS Appliance Control Security Group' to reflect your access method.
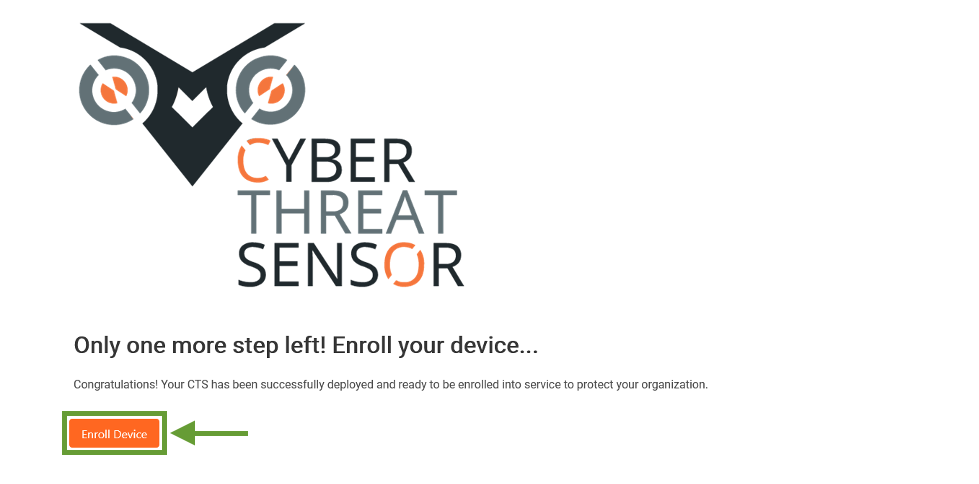
- Next, you should see an Eroll Device page, as pictured below. Click on 'Enroll Device'
 Return to all Tutorials